Resin Bond Flooring Installation: Step by Step Towards Perfect Floors
If you are considering renovating your home or commercial project with Resin Bond flooring, you are taking a great step toward enhanced aesthetics and durability. Installing Resin Bond floors is one of the top choices in modern construction and interior design. It provides a non-porous, water-resistant, and low-maintenance surface, making it ideal for homes, bathrooms, walkways, swimming pools, and more.
In this article, we will explain the Resin Bond flooring installation process in detail and show why this type of flooring is an excellent choice for various projects.
What Are Resin Bond Floors?
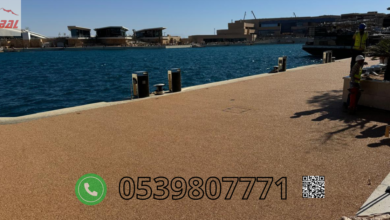
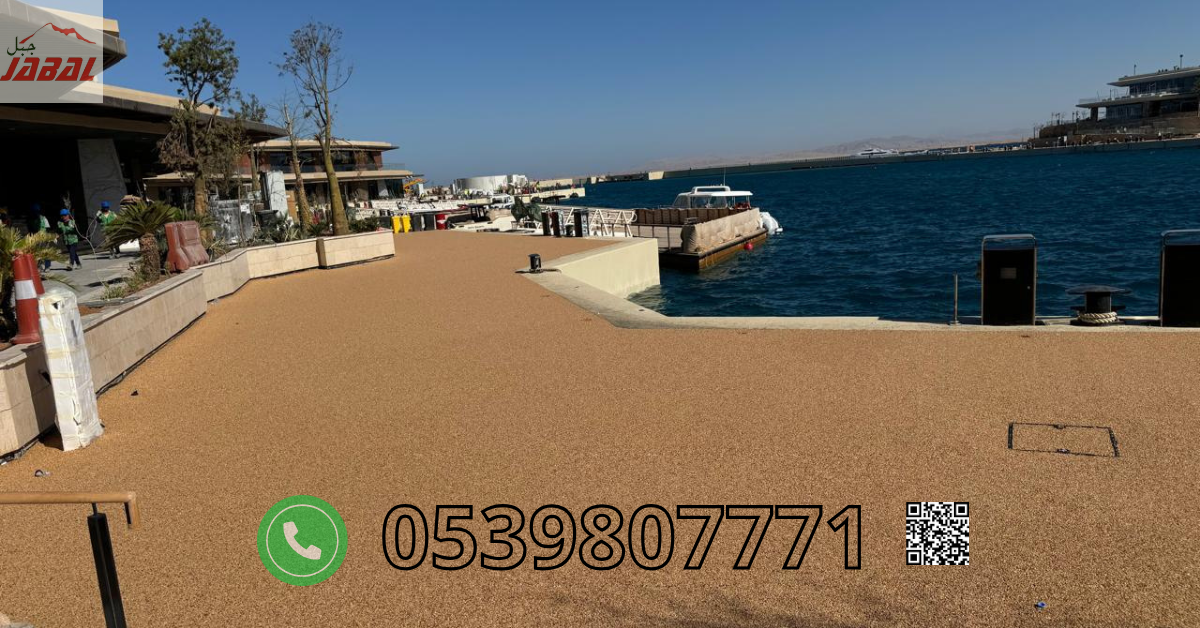
Resin Bond floors are made from a mixture of resin and fine aggregates or colored sand. These materials are applied to a properly prepared surface to create a durable, non-porous, water-resistant, and easy-to-clean floor. These floors are highly resistant to moisture, making them ideal for areas exposed to water, such as bathrooms, swimming pools, and outdoor walkways.
Steps to Install Resin Bond Floors:
1. Initial Surface Preparation
Before starting the installation, the surface must be properly prepared. It should be clean and free from debris, dirt, oils, or grease. This ensures proper adhesion of the resin and the best results.
- Remove dirt and debris: Clean the surface using appropriate materials such as chemical cleaners or high-pressure washing if necessary.
- Repair defects: Any cracks or surface damage should be repaired to ensure a level floor.
2. Apply the Base Layer
After preparing the surface, the base layer is applied using a special type of resin to ensure strong adhesion of the top layers.
- Application: The base layer should be even, without air bubbles or defects.
- Drying: Allow the base layer to dry completely before proceeding to the next step.
3. Mixing Materials (Resin and Aggregates)
In this stage, the resin is carefully mixed with fine aggregates or colored sand to achieve the ideal consistency.
- Mixing ratios: Follow exact ratios to ensure proper consistency, adhesion, and durability.
- Blend thoroughly: Mix the resin and other materials until fully homogeneous.
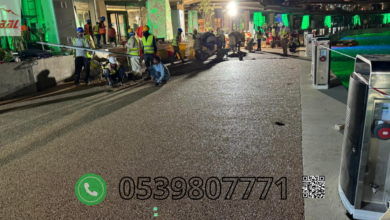
4. Apply the Mixture to the Surface
Once the mixture is ready, it is applied directly to the surface using special tools such as trowels or plastic spreaders. The mixture must be evenly distributed for a smooth, uniform surface.
- Leveling: Carefully level the mixture during application to ensure no unevenness.
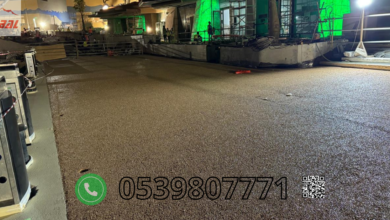
5. Drying and Curing
Resin Bond floors require a specific drying period to allow the mixture to fully harden, typically 24–48 hours depending on environmental conditions.
- Curing: After this period, the surface is ready for use.
6. Final Cleaning
Once the mixture has dried and hardened, the surface is cleaned to remove any remaining resin or aggregates using specialized cleaning equipment.
Why Choose Jabal Contracting for Resin Bond Flooring Installation?
If you are looking for a company to install Resin Bond floors in Saudi Arabia, Jabal Contracting is the ideal choice. We offer numerous advantages:
- Extensive Experience: Our team is highly skilled in installing Resin Bond floors across various projects.
- High-Quality Materials: We use the best types of resin and aggregates to ensure excellent results.
- Precise Installation: Every step is executed carefully to guarantee floor durability and quality.
- Competitive Prices: We offer the best prices to fit your budget.
- Post-Installation Services: We provide warranties and maintenance after installation to ensure floor longevity.
Contact Us Today!
If you are considering installing Resin Bond floors, don’t hesitate to contact Jabal Contracting for a free consultation and a customized quote:
📱 WhatsApp: Click here for direct contact
📧 Email: info@jabalc.com
🌐 Website: jabalc.com
📍 Our services are available throughout Saudi Arabiaدية.